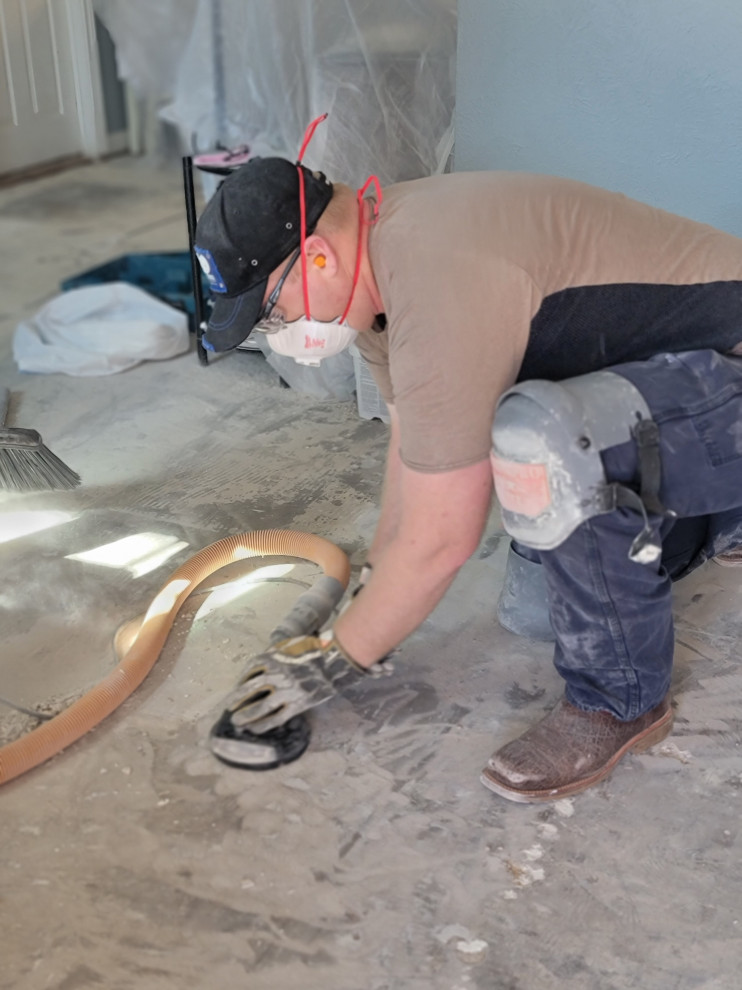
Low Dust Demolition

After being in business for many years we realized that quarantining a project before starting demolition is critical. One of the most common problems with demolition is dust control. The following will give you some of our tips and tricks on how we fight the dust control problem on our projects.
1) Floor to Ceiling Quarantine Plastic
One of the first things we do to mitigate dust during the demolition process is installing floor to ceiling plastic quarantining off the area where the work is to be done. With the use of extension poles and at least 2 mil plastic you can achieve a quarantine that will hold back a big portion of the dust. You also need to tape the plastic in multiple areas around the perimeter to hold the plastic in place while the demolition is in progress. The plastic helps in two ways. First, creates a barrier between spaces, and secondly, it also has static properties to which finite dust can stick.
We also highly recommend proper use of PPE during this stage within the quarantine area. This keeps you safe and healthy and happy.
2) Air Scrubber
There are specialty vacuum systems that suck dust from the job site area. We highly recommend a HEPA filter system for such an application. An air scrubber is not a commonly used piece of equipment that an average homeowner would normally have on hand in their toolkit or garage. You can rent an air scrubber from your local equipment rental locations like Home Depot but these can get costly if you don't know where to buy the filters or how long you should keep this piece of equipment running during a project.
Typically we run the air scrubber with HEPA filter and pre stage filter until there is no dust that is going to be produced at the job site. Typically this is just before the tile underlayment and waterproofing prep begins. This prep stage requires no dust in order for adhesion to be at it's most viable. Proper adhesion is critical to the life of the project.
